Translate

Tuesday, July 1, 2014

Pixel Perfect Testing (Test the usability).

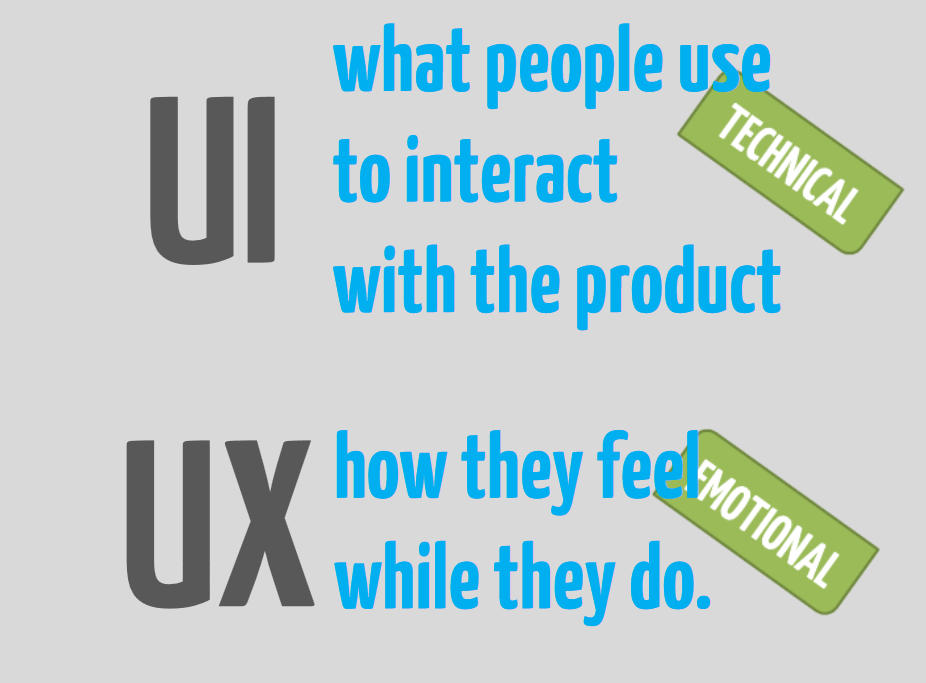
I have always faced issues with testing UI and its related components. The UI and the UX (the experience) would be really different from anywhere the margin. 


The major challenges involved in Usability testing are:
1. Positioning of components on the page and the behaviour of the components.
2. The font, size, shape and overall looks of the components.
3. Dynamic contents.
4. Comparison checks with the specs available.
5. Moving objects.
6. Usability at various resolution.

Now we got a solution for points 1, 2, 4 and 6 with a simple method and which is called the pixel perfect testing. The pixel perfect testing as the name denotes is testing pixel to pixel of your UI against your wireframes or specs.

How to do the Pixel Perfect testing?
1. If you do not the following tool please do have it.
2.  Open your wireframe in picasa and get ready.
3. Now open your UI page (web page) and run the glass2k (this software helps you to adjust the transparency of any page) and adjust the transparency of the page superimposing the same on the wireframe or spec image.
4. Now use FS capture to capture your screen with the web page and wireframe.
5. You will able to make out the complete difference of your webpage from the given design spec image using this method.

What to test using Pixel Perfect Testing?
Line height
Character spacing
Layout
Content spacing
Element positioning
Animates menu/Fly out menu.

Note: For testing image dimension please add a border to the image and then check it against the superimposed image. To add the border the simplest way is to add the following on the console. You can add any web color instead of green. $("img").css("border","1px solid green"); 

Thanks to my friend Padmaraj for giving us this idea.

Sunday, May 25, 2014

Classification Tree

I am really happy to introduce the classification tree based testing methodology which was used by our team. We had a story which was too huge to be tested in a single stretch and also had a lot of combination data to be tested. Sampling of input data and testing was one solution. Now it was even difficult for us as it had a lot number of combinations. I can give you an example of the scenario.

I had to test all the parameters related to a catalog and product where each of them had more than 20 parameters. Each parameter had more than 4 values each to be tested. So we have a permutation and combination of a minimum of 160 test cases to be executed for testing the functionality. This was not possible within the given duration. So i decided to go ahead with the classification tree methodology.

Whats Classification tree?
The Classification Tree Method is a method for test design, as it is used in different areas of software development. It has been developed by Grimm and Grochtmann in 1993. Classification Trees in terms of the Classification Tree Method must not be confused with decision trees.
The classification tree method consists of two major steps:
  1. Identification of test relevant aspects (so called classifications) and their corresponding values (called classes) as well as
  2. Combination of different classes from all classifications into test cases.
The identification of test relevant aspects usually follows the (functional) specification (e.g. requirementsuse cases …) of the system under test. These aspects form the input and output data space of the test object. (courtesy: wiki)

Where to get the classification tree software?
CTE XL tool is available for download at http://www.berner-mattner.com/en/berner-mattner-home/products/cte-xl/. 
The Classification tree software helps to develop the classes and identifies all the test cases available for the scenario. Now once the tree is developed for the scenario the TC's can be selected based on the coverage from the available TC developed from the tree. Thus this provide an overview on all the TC's available for the scenarios and the QA can decide on which one is to be selected for execution based on coverage analysis.


Saturday, May 24, 2014

Improving the QA activities in agile sprint cycle.

I thought of sharing the new cycle of methodologies introduced in our project. We always had issues in the code being introduced to the QA environment which was missing some of the requirements or overlooked. Even QA had observed issues in the code which could have been eliminated by a simple check in the dev environment. All these issues lead us to introduce new stages of testing in the agile scrum cycle. 

Listed below the same.

Dev Box Testing.
          The QA team made sure to run the functionality check (story based) in the dev environment. We made sure the functionality is achieved before the story is committed to the QA environment. The QA team always had a discussion with the dev team and business team (here BA) on any issues observed in the dev box testing. Once all the issues are fixed in the dev environment the code was pushed into the QA environment for further QA activities.

Whats the significance of this stage?
We observed this helped to reduce a lot of functional issues and also save time as numerous builds could be avoided to fix them. Almost 30% of time and 50% of issues were found during the dev box in our projects. This also helped the QA team to understand the functional flow of the story before the actual testing starts in the QA environment.

Peer Review
Soon after the normal QA activities are done for the story, peer level testing is done by 2-3 testers together with some exploratory test cases recording the behavior and outputs. If there are issues found during this stage testing will be continued till an acceptable level of quality is attained. 


Whats the significance?
This stage helped us to capture issues which were more of hidden in nature. We were able to find 10-20% of issues during this phase of testing. This also gave more insight to the QA and connect the story behavior with others and could also run some of the basic integration checks.

So these phases of testing helped us in capturing issues much before the story is pushed for UAT. Thus apart from the normal testing activities we introduced the above phases which helped us to save time and improve the quality of the deliverables.   


Sunday, December 1, 2013

The QA Kanban

QA Kanban - Helpful to get the jist.

We started using kanban board to check if this would help our team to track the day to day progress and be aware of the happenings among us.

In Kanban you might see only three items in the workflow.
1.. To Do - Tasks yet to start.
2.  In-Progress - Tasks in progress and are also withheld due to some issues.
3.  Done - Tasks ready to given or demoed.

While this explains a lot, we wanted the board to more refined so that at any point of time some one in the team can check the status and take up the high riskier ones. The QA board we developed is the Kanban diagram with above workflows but had a drilled down explanation on each workflow task in the QA world.

Our QA Kanban board was from the agile story perspective and story ids were mapped to each worflow.
1. YTS - To Do was mapped to YTS - Yet to Start. This gave us an overview on all the stories which are yet to start and if we feel more tasks or stories are piled for a QA we distribute the task among others and move it to the next stage.

2. WIP - Work In Progress: Here we have the following items:

  • Test Case Start: Started with the test case preparation.
  • Test Case Review: This was a secondary item in our flow as this would add up to the reviewers taks and not to the QA self task.
  • Test Case Done: Done with the test cases and is ready for testing.
  • Testing Start: Started with test scenario executions.
  • Testing Done: Done with testing and ready to move to the next stage of the workflow.
  • Bug: Story reopened for bugs.
3. Done - Once we are ready for the internal demo this is the last stage of our flow.
  • Internal Demo - Demo done to the internal stakeholders.

Also we have another Issues category which is out of the normal flow to address the high priority issues with typical approaches to be addressed to the client.


Saturday, November 16, 2013

Test Scenario Modeling in Agile.

Analyzing and understanding a story for creating the test objective and scenarios is not an easy task. This requires a lot of effort for identifying the exploratory scenarios which has to be covered in all aspects. Even though the best possible story cannot explain the hidden challenges to the QA or developer the challenges and scenarios it can override and fish upon the application. To explain and dig more into the scenarios diagrams and figures modelling is a great tool for any QA to understand the flows and challenges involved . Similar to the UML diagrams we have used a new technique to understand the complete flow of complex stories and the dependencies of the same on various interfaces. 

What we did?
We tried figuring out the best possible method for documenting the scenarios and linking the previous and future scenarios to the plan. The method adopted is to create scenario modelling diagrams to create and understand the flows, complexities and dependencies of the story. These diagrams helped us deciding the best methodology for testing, deciding the best combination of test cases, the flow for testing, coverage addressed, etc,..

Test Scenario Diagram

While designing the diagram we made sure each symbol and box had a meaning in the test case flow and design. The colors even represent whether a test case has multiple steps, single step or a scenario within another scenario. 

Advantages.
This really helped us in the TDD approach in agile. We were able to model the dependencies in a much better way. This helped us in understanding the depth of coverage to a greater extend. We were able to have a three dimensional approach to the test scenarios for stories. 

Soon we will be publishing a paper on this approach.


Monday, June 3, 2013

QA story walkthrough with developers helps a lot in agile methodology.


We always dream of making things simple and easy. Yep me too believe in those words. But for a QA this is nightmare when the D-Day of Sprint arrives. QA will always busy in execution day and night, retesting, regression, scripts and a lot...

Now let me suggest something that can make your life more simple in agile methodology as a QA. A walkthrough on the story once the story is assigned to a developer. 
Now whats this? Here you are gonno discuss with the story owner (developer) on the pros and cons and your understanding on the story. Also have some checklists prepared before you meet him as it can be crazy. 
Walkthrough meeting with developers
Before you meet the developer, 
  • read the story, analyse it from the QA perspective and understand its risks and impact.
  • check the test oracles and available test documents (use cases if any).
  • prepare a checklist (simple handwritten one).
Now once you meet your customer (developer) :)

  • Ask him/her each and every question and his views on the story.
  • Please refrain from asking how he is developing it unless and until you are a technical test analyst or tester (becoz this will drive away the show to a different bucket).
  • Please put in your concerns and the end results you will be looking for in a very brief manner.
  • Check your checklist and share the same with the developer.
Once you come back for preparing your TC's or TPlans.

Quality Bugs

If possible try to have a softcopy of the checklist in place as this might help you out later. Then start with your test cases (TC's) or Test Plans (TPlans) to drive your show.
This is the one I have applied in my projects and I have found it very impressive and efficient. Atleast you could always rely on the quality of bugs that come up later rather than increasing the quantity.

Friday, May 24, 2013

Back Button Testing (Should I do it)

I have always encountered a lot of fights when I test the back button. Many of them say its required only in the usability tests. Some of them claim it is 'OUT OF SCOPE'. I feel as a tester or a quality analyst you have to test the back button for all instances.

Lets explain why?

Usability Answer.
From the usability perspective and according to various surveys most of the online users is used to press the back button on the browser or press the backspace key on the keyboard. Users are used to such a scenario and we are not allowed to stop the user one fine morning saying "Hey don't use back button it will cause many issues to my application". So the option lies to the developer to disable it. I can understand for a finance or banking application using back button might create chaos, so warn the user or disable it. But for a shopping user back button is an easy mechanism for him to traverse and u cant stop it except for payment pages. So I believe the usability answer gives some solution to our viewpoint.

Functionality Answer.
Many a times functionality is affected while back button testing is done. Lot many times I have observed the login is affected when back button is pressed immediately after the user logging in. Also a lot of issues while during checkout for back button traversing. Majorly I have found this for online shopping websites. These instances affect the basic requirements of the application and thus black box or functionality fails.

Security or penetration testing.
This was one of the most interesting instance where back button really increased the bug count for me in various projects.

Some instances.
1. Able to send a request for forgot password for a logged in user.
2. The logged in user seems to be logged out and when the user tries to login again the system issues an error.
3. able to manipulate and play with jsessionids on all instances of back button.

These are some of the core problems (we call bugs) we might face along with the back button. Either tackle it or avoid.

So never give up when developers say that back button is not be tested, go on and show your testing skills all over it. Also make sure your test the backspace key too.  Thanks to my developers who gave me a chance to write this blog.

Happy bugging ..... :)