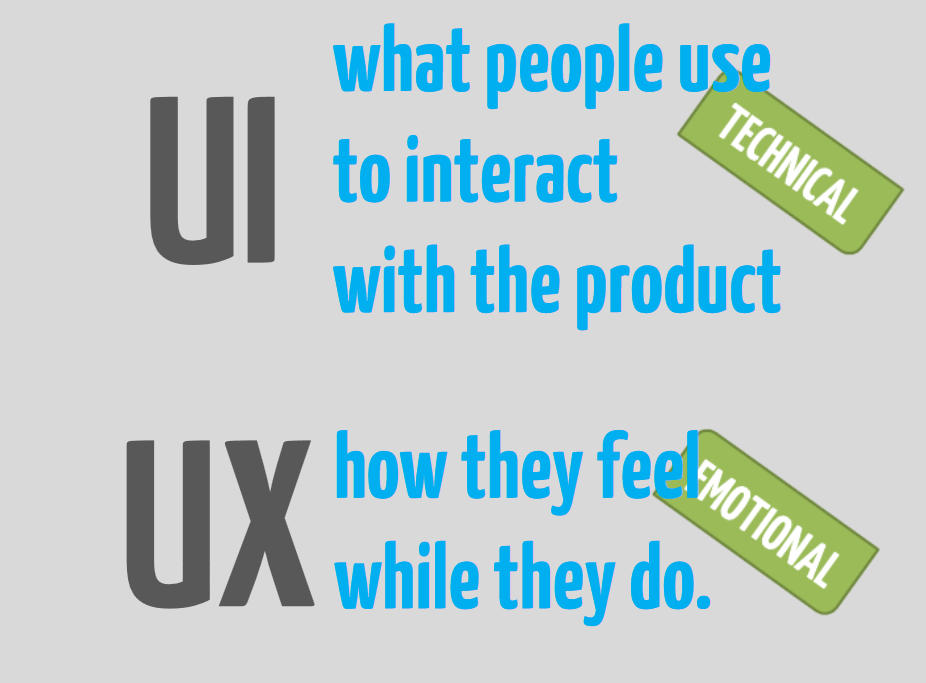
I have always faced issues with testing UI and its related components. The UI and the UX (the experience) would be really different from anywhere the margin.


The major challenges involved in Usability testing are:
1. Positioning of components on the page and the behaviour of the components.
2. The font, size, shape and overall looks of the components.
3. Dynamic contents.
4. Comparison checks with the specs available.
5. Moving objects.
6. Usability at various resolution.
Now we got a solution for points 1, 2, 4 and 6 with a simple method and which is called the pixel perfect testing. The pixel perfect testing as the name denotes is testing pixel to pixel of your UI against your wireframes or specs.
How to do the Pixel Perfect testing?
1. If you do not the following tool please do have it.
• Picasa http://picasa.google.co.in/
• FS Capture http://www.portablefreeware.com/?id=775
2. Open your wireframe in picasa and get ready.
3. Now open your UI page (web page) and run the glass2k (this software helps you to adjust the transparency of any page) and adjust the transparency of the page superimposing the same on the wireframe or spec image.
4. Now use FS capture to capture your screen with the web page and wireframe.
5. You will able to make out the complete difference of your webpage from the given design spec image using this method.
What to test using Pixel Perfect Testing?
•Line height
•Character
spacing
•Layout
•Content
spacing
•Element
positioning
•Animates
menu/Fly out menu.
Note: For testing image dimension please add a border to the image and then check it against the superimposed image. To add the
border the simplest way is to add the following on the console. You can add any
web color instead of green. $("img").css("border","1px solid
green");
Thanks to my friend Padmaraj for giving us this idea.
No comments:
Post a Comment