Translate

Tuesday, July 1, 2014

Pixel Perfect Testing (Test the usability).

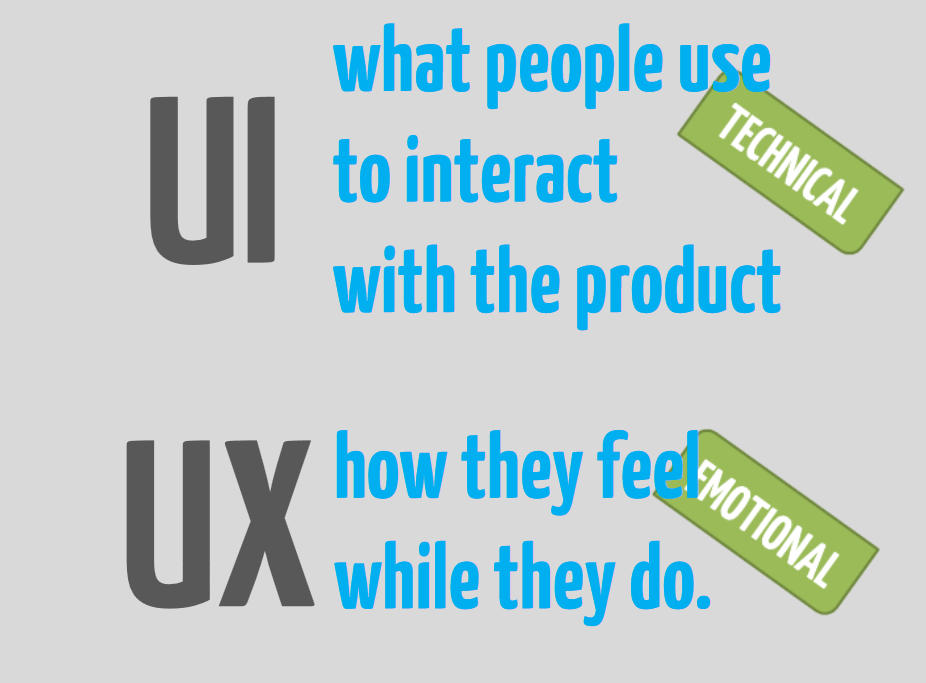
I have always faced issues with testing UI and its related components. The UI and the UX (the experience) would be really different from anywhere the margin. 


The major challenges involved in Usability testing are:
1. Positioning of components on the page and the behaviour of the components.
2. The font, size, shape and overall looks of the components.
3. Dynamic contents.
4. Comparison checks with the specs available.
5. Moving objects.
6. Usability at various resolution.

Now we got a solution for points 1, 2, 4 and 6 with a simple method and which is called the pixel perfect testing. The pixel perfect testing as the name denotes is testing pixel to pixel of your UI against your wireframes or specs.

How to do the Pixel Perfect testing?
1. If you do not the following tool please do have it.
2.  Open your wireframe in picasa and get ready.
3. Now open your UI page (web page) and run the glass2k (this software helps you to adjust the transparency of any page) and adjust the transparency of the page superimposing the same on the wireframe or spec image.
4. Now use FS capture to capture your screen with the web page and wireframe.
5. You will able to make out the complete difference of your webpage from the given design spec image using this method.

What to test using Pixel Perfect Testing?
Line height
Character spacing
Layout
Content spacing
Element positioning
Animates menu/Fly out menu.

Note: For testing image dimension please add a border to the image and then check it against the superimposed image. To add the border the simplest way is to add the following on the console. You can add any web color instead of green. $("img").css("border","1px solid green"); 

Thanks to my friend Padmaraj for giving us this idea.

Sunday, May 25, 2014

Classification Tree

I am really happy to introduce the classification tree based testing methodology which was used by our team. We had a story which was too huge to be tested in a single stretch and also had a lot of combination data to be tested. Sampling of input data and testing was one solution. Now it was even difficult for us as it had a lot number of combinations. I can give you an example of the scenario.

I had to test all the parameters related to a catalog and product where each of them had more than 20 parameters. Each parameter had more than 4 values each to be tested. So we have a permutation and combination of a minimum of 160 test cases to be executed for testing the functionality. This was not possible within the given duration. So i decided to go ahead with the classification tree methodology.

Whats Classification tree?
The Classification Tree Method is a method for test design, as it is used in different areas of software development. It has been developed by Grimm and Grochtmann in 1993. Classification Trees in terms of the Classification Tree Method must not be confused with decision trees.
The classification tree method consists of two major steps:
  1. Identification of test relevant aspects (so called classifications) and their corresponding values (called classes) as well as
  2. Combination of different classes from all classifications into test cases.
The identification of test relevant aspects usually follows the (functional) specification (e.g. requirementsuse cases …) of the system under test. These aspects form the input and output data space of the test object. (courtesy: wiki)

Where to get the classification tree software?
CTE XL tool is available for download at http://www.berner-mattner.com/en/berner-mattner-home/products/cte-xl/. 
The Classification tree software helps to develop the classes and identifies all the test cases available for the scenario. Now once the tree is developed for the scenario the TC's can be selected based on the coverage from the available TC developed from the tree. Thus this provide an overview on all the TC's available for the scenarios and the QA can decide on which one is to be selected for execution based on coverage analysis.


Saturday, May 24, 2014

Improving the QA activities in agile sprint cycle.

I thought of sharing the new cycle of methodologies introduced in our project. We always had issues in the code being introduced to the QA environment which was missing some of the requirements or overlooked. Even QA had observed issues in the code which could have been eliminated by a simple check in the dev environment. All these issues lead us to introduce new stages of testing in the agile scrum cycle. 

Listed below the same.

Dev Box Testing.
          The QA team made sure to run the functionality check (story based) in the dev environment. We made sure the functionality is achieved before the story is committed to the QA environment. The QA team always had a discussion with the dev team and business team (here BA) on any issues observed in the dev box testing. Once all the issues are fixed in the dev environment the code was pushed into the QA environment for further QA activities.

Whats the significance of this stage?
We observed this helped to reduce a lot of functional issues and also save time as numerous builds could be avoided to fix them. Almost 30% of time and 50% of issues were found during the dev box in our projects. This also helped the QA team to understand the functional flow of the story before the actual testing starts in the QA environment.

Peer Review
Soon after the normal QA activities are done for the story, peer level testing is done by 2-3 testers together with some exploratory test cases recording the behavior and outputs. If there are issues found during this stage testing will be continued till an acceptable level of quality is attained. 


Whats the significance?
This stage helped us to capture issues which were more of hidden in nature. We were able to find 10-20% of issues during this phase of testing. This also gave more insight to the QA and connect the story behavior with others and could also run some of the basic integration checks.

So these phases of testing helped us in capturing issues much before the story is pushed for UAT. Thus apart from the normal testing activities we introduced the above phases which helped us to save time and improve the quality of the deliverables.